Garrattfan's Modelrailroading Pages

Regauging a Bemo car from HOe (9 mm) to HOm (12 mm)
- Introduction
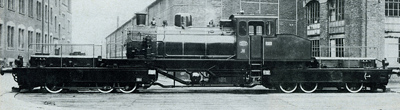
- Dutch Garratt LTM 51 in 1:87
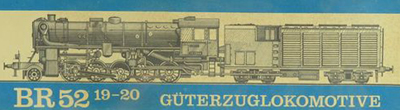
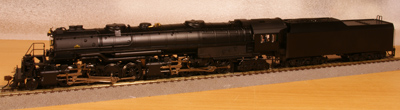
- BR 52 2006
- Fairlie Merddin Emrys in 7mm (Painting)
- SBB C5/6 (wheel flange turning)
- Construction methods
- Painting wheels
- Blackening
- More...
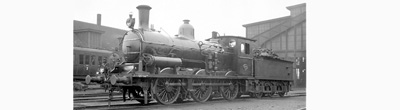
- NBDS 118 2-8-0
- Dutch Class 5000 (ex-WD)
- Dutch Class 4300 (ex-WD)
- Dutch Class 8600 0-6-0
- NSWGR AD60

- NS 6200 2-8-2
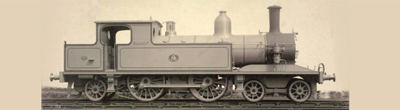
- SHM 26 tram loco 0-4-0
- BR 99 Saxon VI K
.jpg)
- SBB Ae 3/6 II
- NGG 16 Garratt
- Dutch Ry 7005 4-4-0

- MDC 3tr Shay
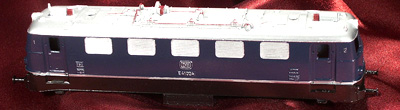
- E41 (Märklin 3034)
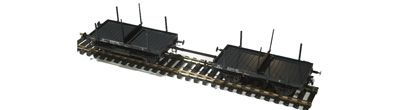
- Flat cars Dutch Ry
- BR 99 Saxon VIK for a friend
- Broad gauge rail
- BR 43/044

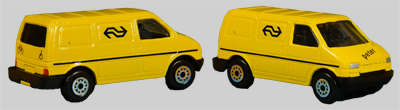
- VW Bus
- EM-1
- Elf tank car

- Regauging Bemo car
- Birthday present
- My fastest project ever

- Dutch Ry 7851

- Reihe U

- BR 98 "Glaskasten"

- Brienz Rothorn Bahn

- Dutch NCS 7-8 tramloco
- Dutch Class 3300 0-6-0
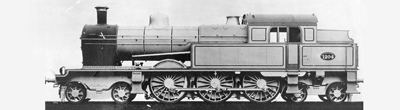
- Dutch Class 3700 2-6-0

- Dutch Class 3900 2-6-0 (new kit)
- Dutch Class 3900 2-6-0 (rebuild)
- Dutch Class 4300, ex-WD 2-8-0
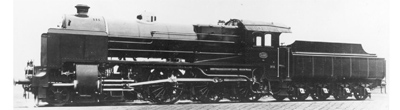
- Dutch Class 5500 4-4-2
- Dutch Class 6000 4-6-4
- Dutch Class 6300 4-8-4
- Dutch Class 9500 0-10-0
- Dutch Garratt LTM 51 in 1:43.5
- SAR GCA Garratt
- SAR GMAM Garratt (kit)

- SAR GMAM Garratt (rebuild)
- LMS Garratt
- Tasmanian K1
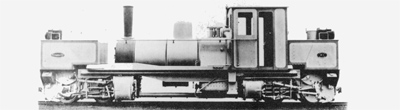
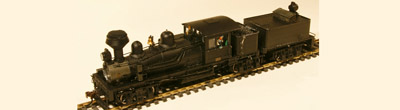
- Bachmann On30 Shay conversion

- MDC Shay (pre-1900)
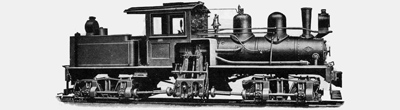
- Keystone Shay (pre-1900)
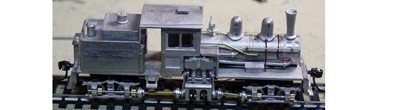
- Bachmann Shay
- Bagnall 3024 "Monarch"

- Brigadelok Klien Lindner

- UK LNER C2
- Diorama Brig
Current projects
Projects awaiting completion
Modeling Tips (recent)
Completed projects (order of completion)
Completed small work
Unfinished business
Project in store
Dutch locomotives
Project in store
Garratts
Project in store
Other articulateds
Project in store
Various
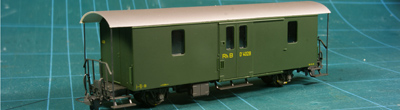
In November 2013 I bought a luggage car D4028 of the Rhaetian Railway for a "soft" price on a railway show.

For just €15 I couldn't resist acquiring it to combine with my G4/5 steam locomotive. Once unboxed at home a found the car to be gauged to 9 mm track (HOe).

That was a problem as my G4/5 is gauged to 12 mm (HOm) which was more prototypical (11.4 mm would be correct as the RhB has 1,000 mm gauge). That meant that the car was no good and to be resold unless I could regauge it one way or the other. The package stated that the car would suit both HOm and HOe so I was hopeful on the latter. There was no documentation of any kind with the car so I turned to the internet for help. Well, this, for once, did not help out very much. I expected to stumble over many accounts of regauging Bemo cars but I did not. I found frequent references to regauging being easy but no descriptions of any kind. So I turned to the car itself and studied it for some time. After some thought I found the solution and yes, it was simple. And because it is so simple no one seems to have thought of describing the process. Well, I do.
 |
First thing of course is removing the wheelsets. Gently pull the axle boxes apart, one by the wheel and the other by the axle box itself. Once sufficiently apart the wheelset will pop up by itself. |
 |
Two holes are provided to position the brake shoes. |
 |
Gently squeeze a thin srew driver under the brake shoe base and wriggle it out of its hole. Be careful, the previous owner had glued the brake shoes of course and you don't know how strong the bond is. Luckily in my case all brake shoes came out easily. |
 |
Done, seven more to go |
 |
Clean out old glue |
 |
|
 |
Next job is to spread the wheels over the axle. I used a simple wheel puller. I bought this tool from Micro-Mark for about $10. It works dead simple: insert the wheelset and turn the press tight. The tip of the press has a dimple so the tip of the axle won't be deformed. |
 |
Now turn ahead. In one case I needed to exert quite some pressure but the other three wheels easily gave way. Do it bit by bit and spread the extra millimeters evenly over both wheels of course. |
 |
I don't have an official 12mm wheel gauge, so I used a locomotive to match the gauge of the wheelsets. |
 |
One done, one to go. |
 |
Being moved towards the frame the brake shoe base proved to be a little to wide. A filed the excess flat. |
 |
and glued them into place. In this case I used simple Revell plastic glue. |
 |
Fitting the wheelsets before the glue sets is essential to make sure none of the brake shoes touches the wheels. This is especially useful for the compensated wheelset which moves in its subframe where the brake shoes are fixed to the mainframe. |
 |
Done. An extremely simple conversion. |

Finally I put the car behind 12mm gauge locomotive to make an official portait to match the scene below, which I shot in 1977


Sign my
GuestBook